Adding a Google Cloud Container Registry
While ODIN Fleet does not officially support Google Cloud Container Registries (GCR), you can still integrate GCR using the Custom option. This guide will walk you through the necessary steps.
1. Set Up Your Google Cloud Container Registry
Ensure that your GCR is properly set up and that you have the necessary permissions and authentication details. You can find more information on setting up GCR in the Google Cloud Container Registry Documentation.
2. Obtain Your Docker Credentials
Use the gcloud CLI tool to generate a Docker-compatible authentication configuration. Run the following command to authenticate Docker with GCR:
gcloud auth configure-docker
This command updates your Docker configuration to include credentials for GCR, allowing you to pull and push images.
3. Add a New Registry in ODIN Fleet
Navigate to “Settings” in the ODIN Fleet dashboard after selecting/creating your app. In Settings, navigate to the “Docker Registries” tab.
Click the “Add Registry” button and select Custom from the options.
4. Provide Required Information
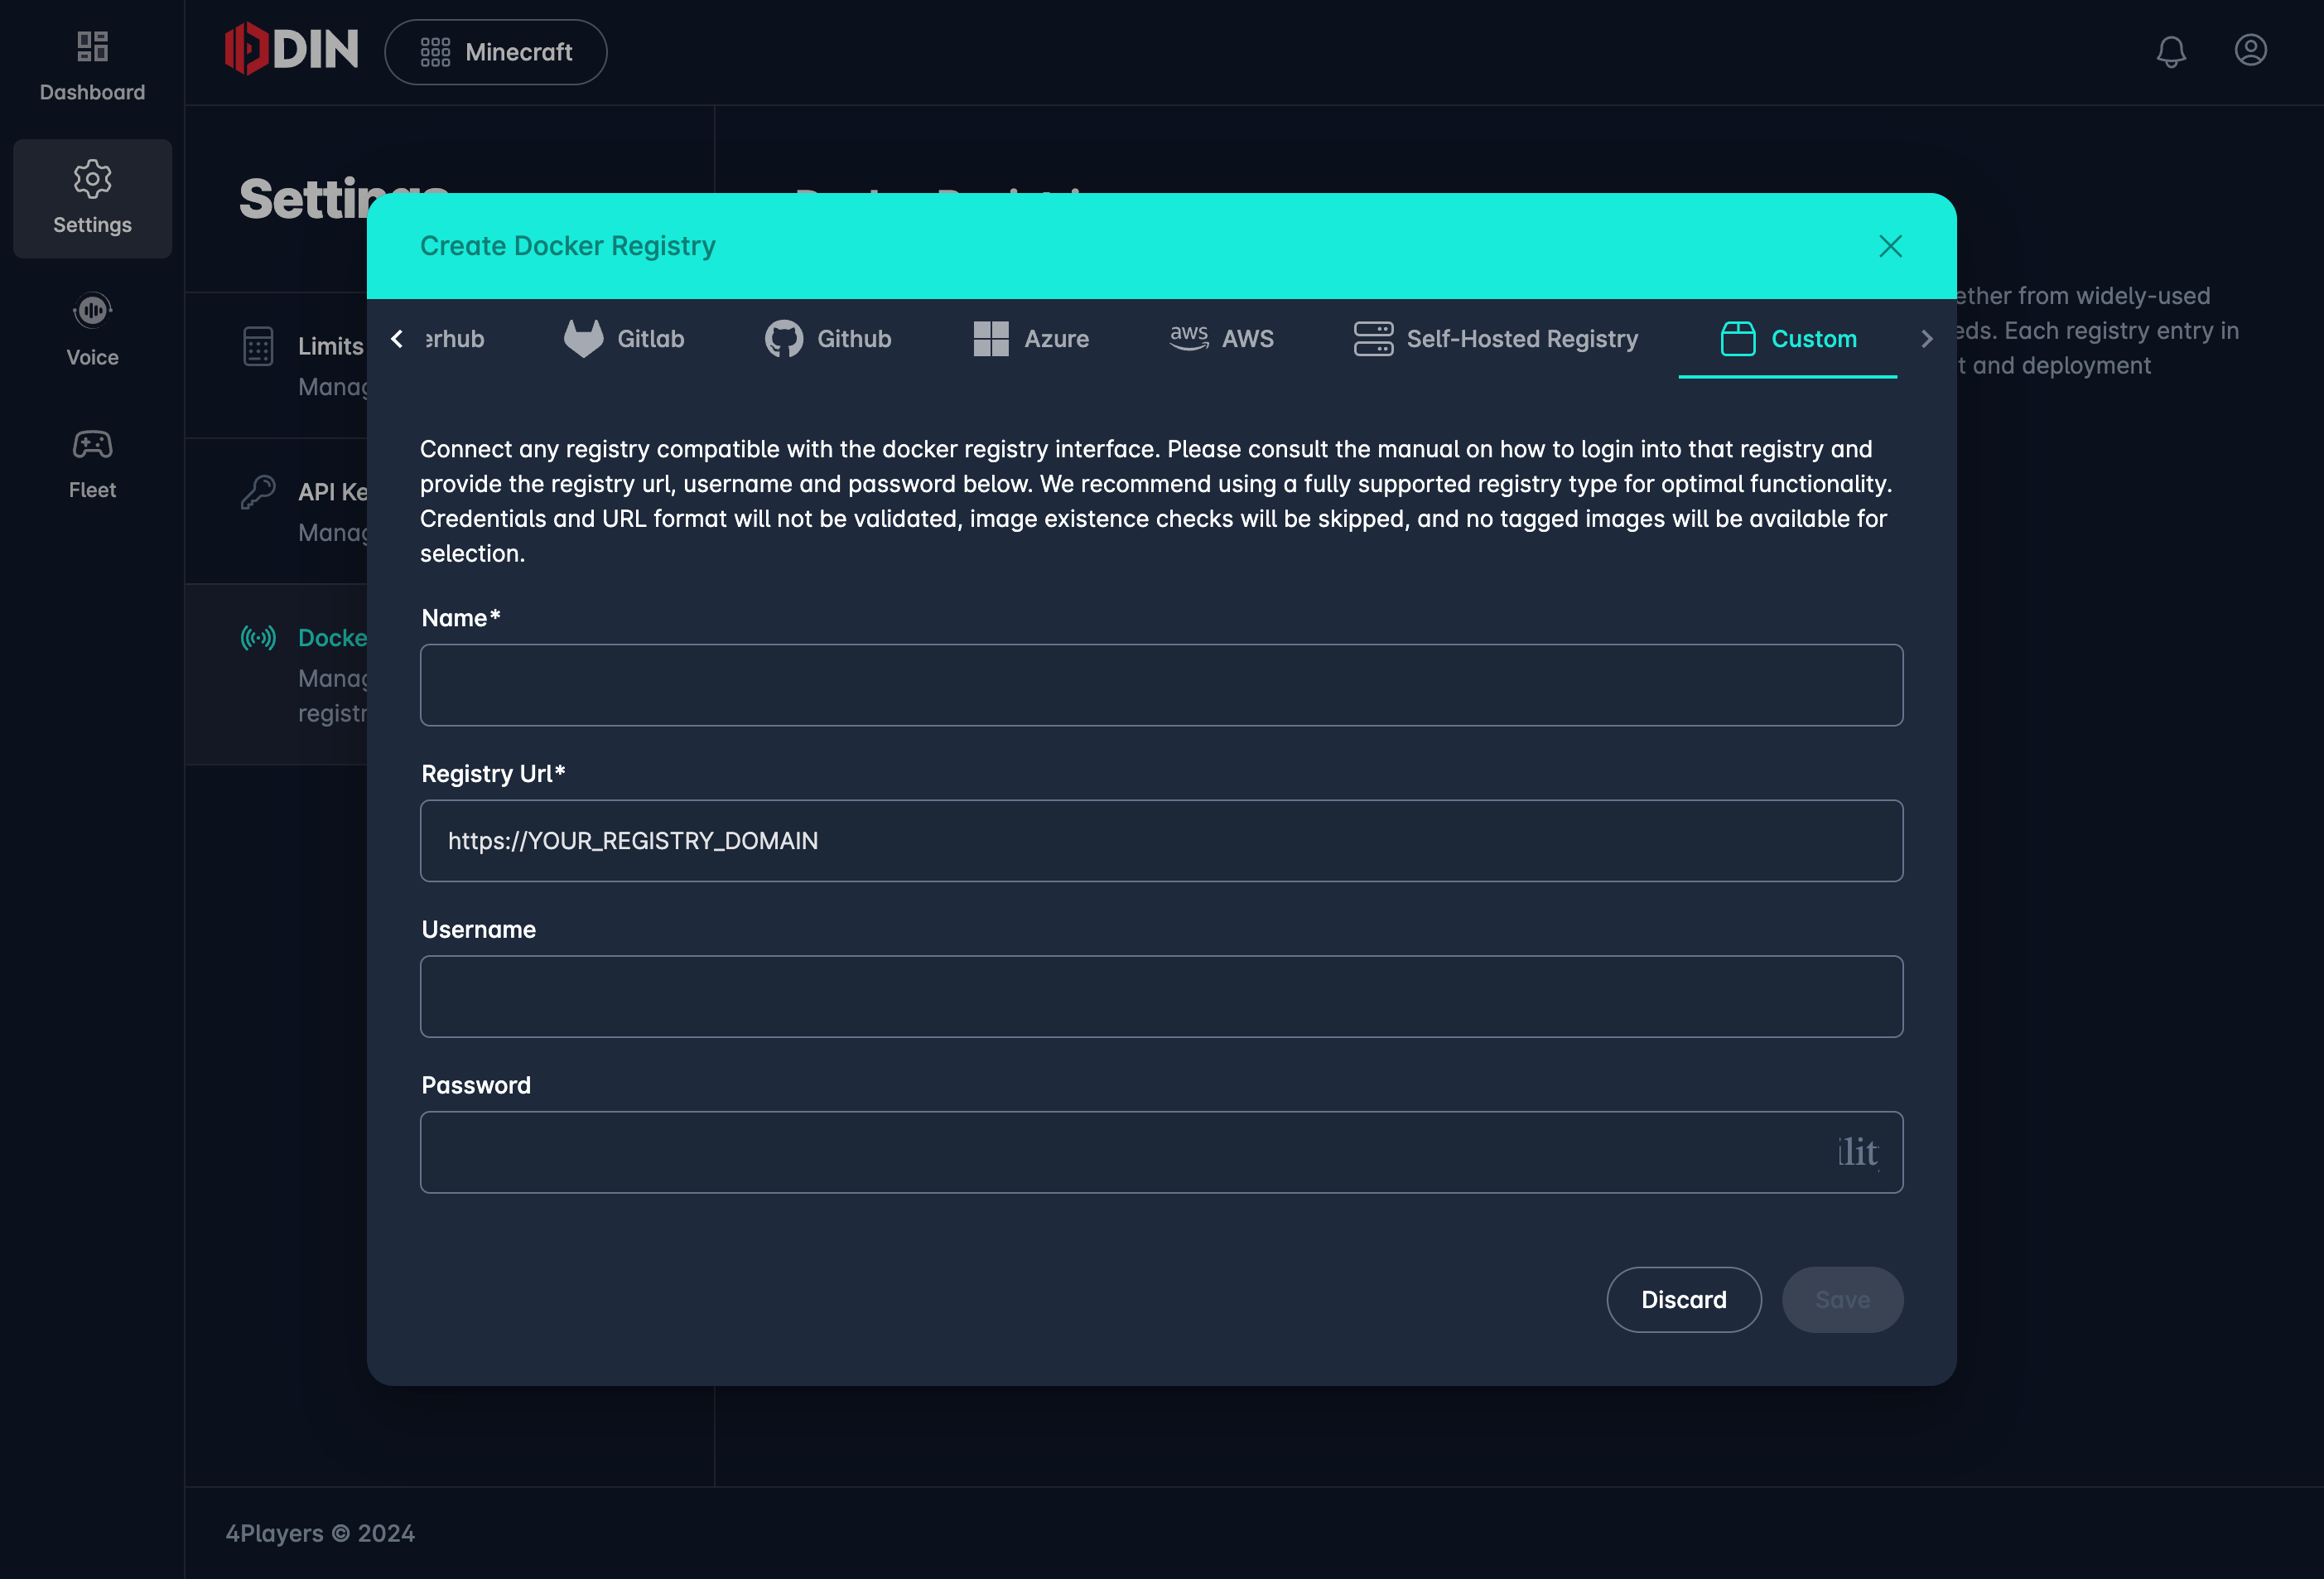
Add Google Cloud Registry
Enter the following details to establish a connection with your Google Cloud Container Registry:
- Name: Enter a name for this registry connection.
- Registry URL: Use the GCR registry URL format, which is typically
https://gcr.ioor a specific regional URL likehttps://us.gcr.io,https://eu.gcr.io, orhttps://asia.gcr.io. - Username: Use
_json_keyoroauth2accesstoken. - Password: Provide the base64-encoded JSON key file content if using
_json_keyor the OAuth2 access token if usingoauth2accesstoken.
Example setup:
- Registry URL:
https://gcr.io - Username:
_json_key - Password: (Paste the base64-encoded content of your service account key file)
Or using OAuth2 access token:
- Registry URL:
https://gcr.io - Username:
oauth2accesstoken - Password: (Your OAuth2 access token)
5. Save the Configuration
After entering the necessary details, click “Save” to complete the integration.
Limitations and Warnings
Since this is done via the Custom option, the following limitations apply:
- No URL Validation: The provided URL will not be checked for validity or corrected.
- No Image Verification: Image existence checks are skipped, meaning ODIN Fleet will not verify if the images exist in the registry.
- No Image Browsing: Tagged images will not be retrieved, resulting in an empty list of available images for selection.
- Error Handling: If an image cannot be pulled, it will be marked with a status error, but further details may not be provided.